Bathroom Renovation Checklist: Step-by-Step Guide for Beginners
Your first bathroom renovation can feel overwhelming. There’s plumbing, tiling, waterproofing, fixtures — and one wrong decision can mean redoing work that’s already expensive. I’ve put together this bathroom renovation checklist to walk you through it properly, step by step, the way I’d explain it to a friend doing this for the first time.
Step 1: Set a Realistic Budget First
Quick answer: Before choosing tiles or fixtures, set your bathroom renovation budget first — a basic bathroom renovation in India typically costs ₹80,000-₹1.5 lakh, while a premium one can go up to ₹3.5 lakh or more.
Decide your ceiling amount before you fall in love with expensive fittings. Trust me, showrooms are designed to make you overspend.
Step 2: Plan the Layout Before Anything Else
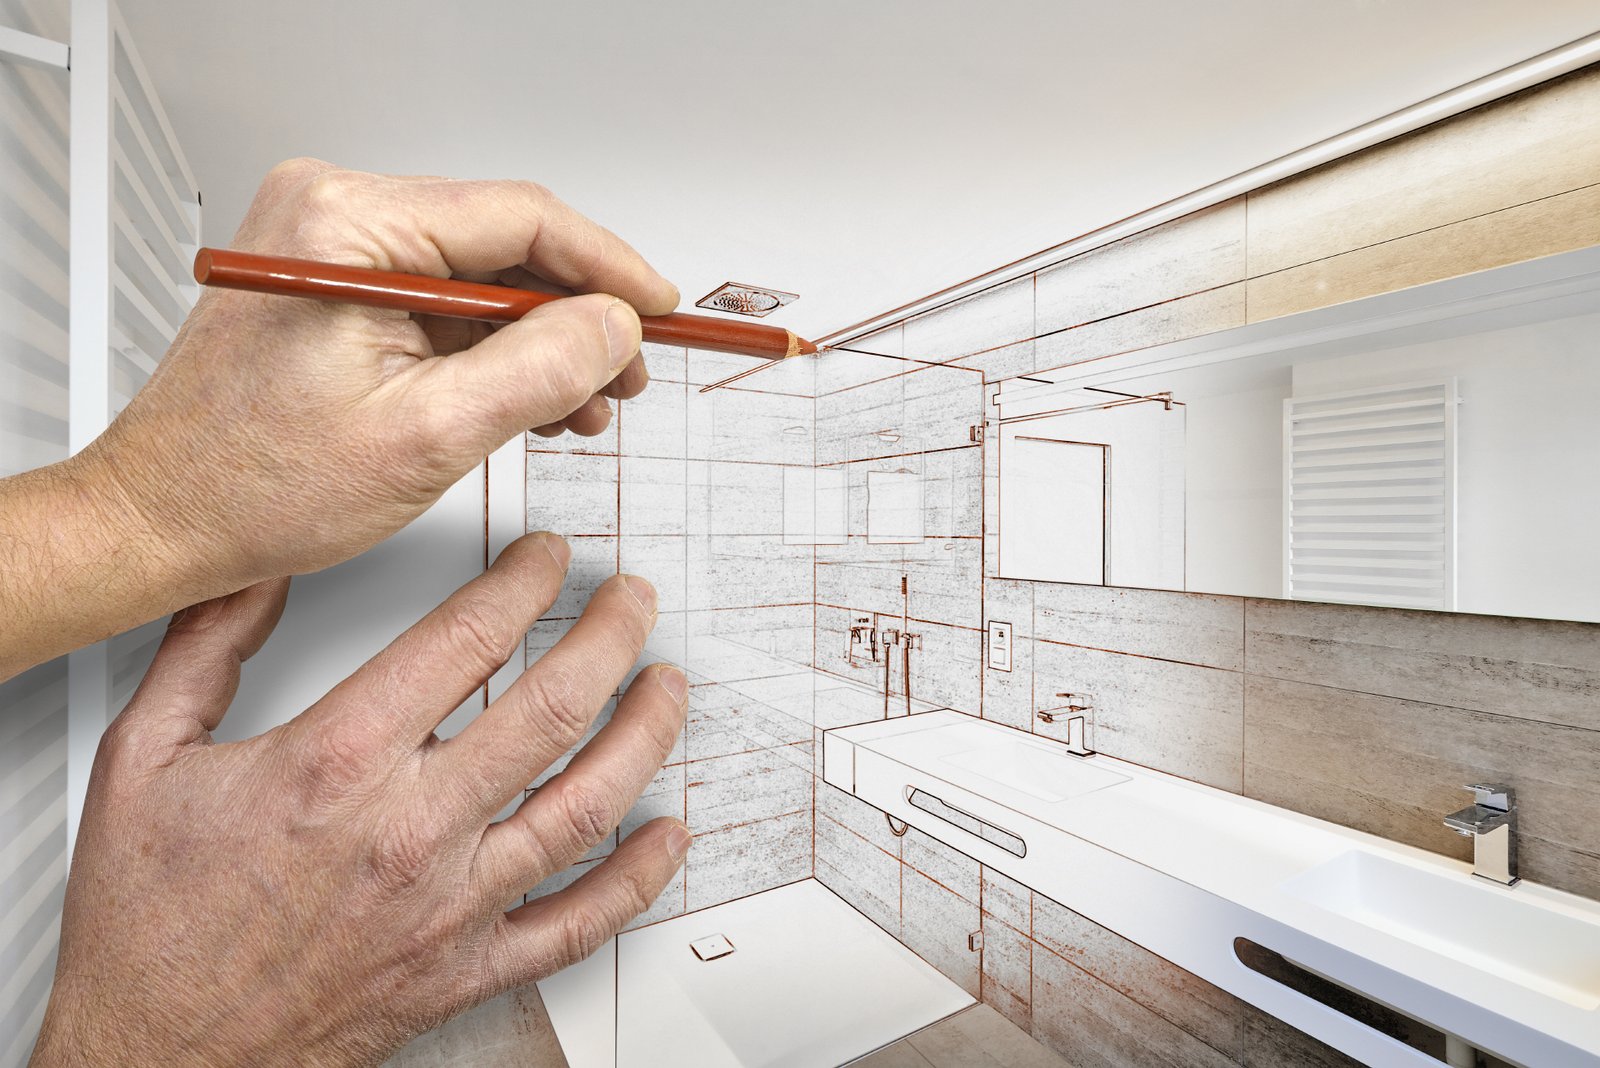
Are you keeping the same layout, or moving the toilet, sink, or shower? This single decision affects your entire budget. Moving plumbing points means breaking floors, which adds significant cost and time.
- Sketch your current layout
- Mark what stays and what moves
- Check if moving fixtures needs approval (in apartments, sometimes yes)
- Confirm water pressure and drainage slope with your plumber before finalizing
Step 3: Waterproofing — Don’t Skip This
This is where I see the most regret. People rush to tiling without proper waterproofing, and six months later there’s seepage in the room below. Waterproofing should cover the entire floor and at least up to 7 feet on wet walls (shower area).
Ask your contractor specifically what waterproofing method they’re using — usually it’s a chemical coating (like Dr. Fixit or similar) applied in 2-3 layers with a curing period of 2-3 days between coats. Don’t let them rush this step.
Step 4: Choosing Tiles
Bathroom tiles need to balance looks with slip resistance. This isn’t the place to prioritize aesthetics over safety.
- Floor tiles: matte or anti-skid finish, R10 rating minimum
- Wall tiles: glossy is fine, easier to clean
- Grout: use epoxy grout in wet areas — regular grout stains and cracks faster
- Size: larger tiles (600x600mm) mean fewer grout lines, easier maintenance
Step 5: Fixtures and Fittings Checklist
Quick answer: Essential bathroom fixtures to budget for include the toilet/WC, wash basin, shower system or health faucet, mixer taps, mirror, and an exhaust fan — together these typically account for 30-35% of total renovation cost.
- Toilet (wall-mounted saves floor space, easier to clean under)
- Wash basin (counter-top or wall-mounted)
- Shower system or overhead rain shower
- Mixer taps (single lever is more convenient than two-knob)
- Exhaust fan — non-negotiable for a moisture-heavy room
- Mirror with or without built-in lighting
- Towel rail and robe hooks
Step 6: Electrical Work
Bathroom electrical points need to be waterproof-rated (IP44 or higher near wet zones). Plan for:
- Exhaust fan point
- Geyser point (separate circuit recommended)
- Mirror light or vanity light
- A shaving point socket if needed
Step 7: Storage Planning
Don’t finalize the layout without thinking about storage. A mirror cabinet, an under-sink cabinet, or open shelving — pick at least one. I’ve noticed people regret this step the most once the renovation is “done” and there’s nowhere to keep toiletries.
Step 8: Ventilation and Odor Control
Beyond the exhaust fan, check if your bathroom has a window. If not, the exhaust fan capacity should be higher (aim for at least 150 CFM for an average-sized bathroom) to properly manage humidity and odor.
Step 9: Final Inspection Before Handover
Before you consider the renovation complete, check these:
- Run water for 10 minutes and check for leaks around joints
- Flush the toilet multiple times, check flow and drainage
- Test all electrical points
- Check tile levels — water should flow toward the drain, not pool
- Inspect grout lines for gaps or unevenness
- Confirm door doesn’t stick or scrape against new flooring
Common Mistakes to Avoid
- Skipping or rushing waterproofing
- Choosing glossy tiles for the floor (slip hazard)
- Not planning storage until the end
- Underestimating exhaust fan capacity
- Not testing water flow before final tiling is grouted
[link to related guide about plumbing problems here]
Frequently Asked Questions
How long does a full bathroom renovation take? Typically 2-3 weeks for a standard bathroom, longer if layout changes are involved.
Is it necessary to hire a designer for a bathroom renovation? Not always necessary for a straightforward refresh, but helpful if you’re changing the layout or want a specific aesthetic.
Can I renovate just one part of the bathroom to save money? Yes — many people do partial renovations, like just changing fixtures and repainting, without touching tiles or plumbing.
What’s the biggest cost driver in a bathroom renovation? Changing the layout or moving plumbing points, followed by tile and fixture quality.
How do I prevent seepage into the room below? Proper waterproofing before tiling, done in multiple coats with adequate curing time, is the single most important preventive step.
Conclusion
A bathroom renovation isn’t just about picking pretty tiles — the real value is in the parts you don’t see, like waterproofing and plumbing planning. Go through this checklist before you start, not halfway through, and you’ll avoid most of the expensive redo situations I’ve seen people run into. Take your time on the planning stage; the actual construction goes a lot smoother once that’s locked in.